Calving cows
Topics
5 min read
For the best outcome at calving time, know the signs and stages of labour, how to calve a cow, and the immediate care needed after calving. Check springers regularly to help identify the signs of labour, ensuring timely interventions if needed. Proper post-calving care, including monitoring the cow's health and calf resuscitation techniques, can prevent complications and promote overall well-being.
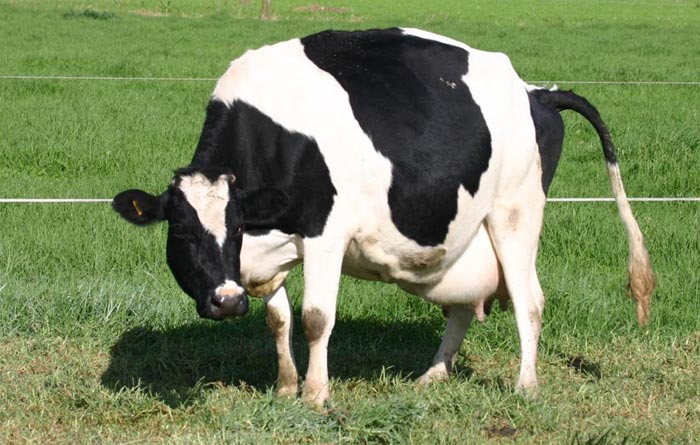
Cows close to calving, also known as ‘springers’, must be inspected frequently. Most farms check them at least every 6 hours and sometimes more often, especially in poor weather. Check springers regularly for signs of labour. Do this quietly, and thoroughly and record what you observe.
Quietly - Walk quietly through the springer mob – when cows are feeding is best. Don’t walk through the mob when cows are hungry and are waiting to be moved to fresh grass or a new break. Look for cows that are showing signs of labour and try not to disturb them.
Regularly - Check cows at least four times a day. Create a routine for springer checks.
Thoroughly - Check all areas of the paddock, and depending how good the fencing is, check the paddocks next door as well. Check drains, hollows, long grass, hedges – anywhere a calf could be hiding.
Record - Note the number of any cow or heifer that has started to show signs of calving, or has calved, and report to your team so you can keep an eye on her progress.
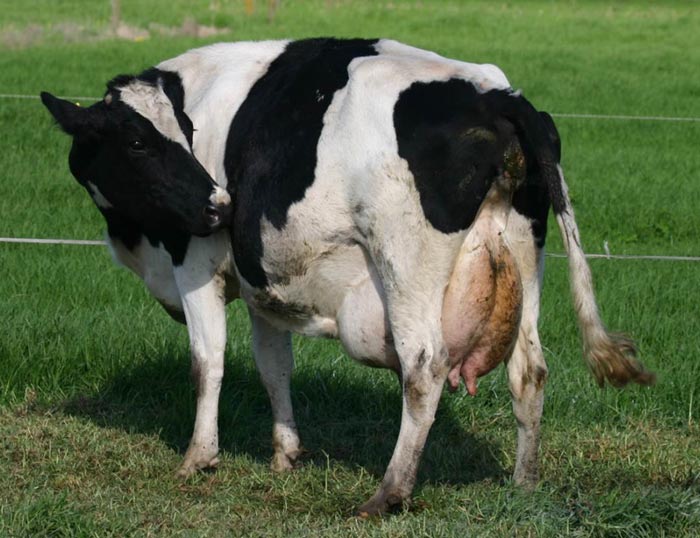
Know the early signs of labour:
Calving will progress differently for different cows. Some may show many signs whereas others may show very few signs. Generally, labour can be broken into three stages: preparation, delivery, and cleaning.
Preparation
Look for these signs when observing springers:


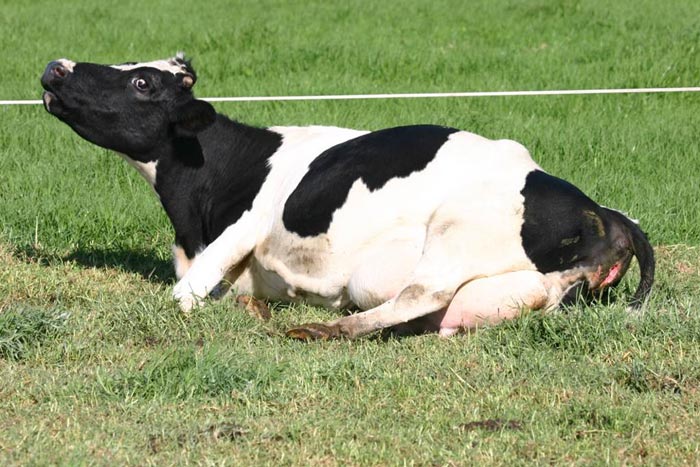
Delivery
Cows should take about 30 minutes to one hour to calve – no more than two hours. Heifers should take two to three hours to calve – no more than four hours.
Progress should be made every 20 minutes. If she is not making progress, intervention may be needed. Know what your farm policy is for this.
During a standard delivery, the following process will occur:
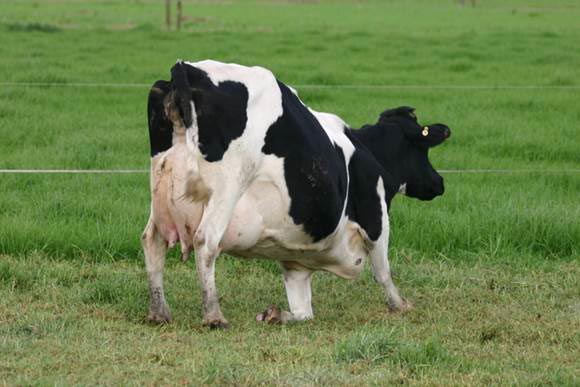
Cleaning
The cleaning process is where the cow's uterus sheds all material related to pregnancy and returns to its normal size. This process is necessary for the cow to return to normal cycling behaviour and improve her chances of becoming pregnant again in the future. The placenta will normally be shed within six hours of birth and then the uterus begins to shrink back to normal size. If only a small part of the placenta comes away, record this and let your manager know. Don’t pull on the placenta - this can damage the uterus and is painful for the cow.
Watch the video below to learn how to check springers, collect newborn calves and record their details.

Assessing calf presentation
Look at the way the joints move. The front leg fetlock and knee bend in the same direction. The back leg fetlock and hock bend in opposite directions. Use this to help identify if the calf is presented head-first (normal presentation) or backwards (abnormal presentation).

Normal presentation
Is when the two front feet and head move through the pelvis first. The feet and head of the calf create a wedge which assists in opening the birthing canal. Even if a calf is in the right position, assistance may be needed if the calf is too big for the cow. The calf may need to be rotated to fit through the pelvis.

Abnormal presentation
A calf which is abnormally presented is likely to need assistance calving. If you are unsure how to correct an abnormal presentation call your manager or vet for help. Watch and learn from anyone who is experienced in calving cows and take opportunities to feel for abnormal presentation and to assist with difficult calvings.

Examples of abnormal presentations.
If calving is not proceeding normally, remedial action must be taken. Be sure to wear gloves to prevent spreading bugs between you and the cow and vice versa. Use plenty of lube to protect the cow, and to help make the calving easier for you and her.
If you need to correct the calf presentation, be sure to cup the calf’s hooves or teeth with your hand. This will help protect the cow’s uterine wall from being damaged.
Calving ropes, chains, jacks, or pulleys can be used to assist cows that are having trouble calving. However, they must be used correctly to make sure they assist the cow and do not harm her or her calf. A moving vehicle must not be used to provide traction to assist calving. See the Code of Welfare: Dairy Cattle.
Assist the cow to calve with gentle traction for 10 minutes. Work with the cow and her contractions. Assisting cows to calve can be very tiring - for us and them - and it’s important to make sure the cow receives the right intervention and care to minimise pain and distress. If you have not made progress, call for help.
Calving ropes/chains
When using calving ropes or chains, ensure calf presentation is correct before you attach them. Make sure you loop them around the leg twice, on either side of the joint, to avoid injury to the calf. Pull on alternate legs to ‘walk’ the calf through the pelvis. Don’t pull both legs at once.
Calving jacks and pulleys
The use of calving jacks and pulleys can produce a large amount of force. Ensure that you are properly trained and confident in the use of calving jacks and pulleys and only use them when necessary to avoid injuring the cow and calf.
Calf resuscitation
If calves are not breathing, attempt to resuscitate them immediately by:
Don’t hang a calf upside down to resuscitate – this compresses the diaphragm and makes it harder for the calf to breathe.
Recently calved cows are fragile and need close monitoring. If you assisted the birth, check for a twin. Keep a close eye on the colostrum cows and report any that are showing signs of being unwell.
Find information about managing mastitis and looking after transition cows during the post-calving period.
For information about caring for down cows, including lifting and moving, see the Down cows page.
Now’s the perfect time to check in, plan, and set up for a strong season. We’ve pulled together smart tips and tools to help you stay ahead all winter long.
Whether you prefer to read, listen, or download handy guides, we’ve got you covered with trusted tools to support your journey every step of the way.
Put our proven strategies and seasonal tools to work. Boost production, support animal health and watch your profits hum.
Tools that are backed by science, shaped by farmers and made for this season.
That’s Summer Smarts.
Autumn Smarts brings together the research-backed tools that build resilience and boost performance.
The tools and insights you need to navigate the season with confidence. Backed by research and built for results – that’s Winter Smarts.


