Cluster attachment and removal
Topics
6 min read
Correct cluster attachment and removal is crucial during milking. It ensures that the milk is of good quality, prevents harm to the teats, and reduces the risk of mastitis. Attaching the milking cups correctly helps with efficient milking, less tiredness and injuries for the milkers, and calmer behaviour from the cows. It’s important to remove the clusters properly to avoid over milking, causing teat damage or liner issues. Keeping the milking machine in good condition is important for smooth cluster removal.
Attaching clusters is a major part of the milking routine. Having a consistent routine across all milkers is important. Clusters which are not attached correctly can lead to teat end damage, cup slipping, and mastitis.
The benefits of correct cup attachment include:
Attachment of clusters is given surprisingly little attention considering it has a major role in the milking routine.
Most milkers develop their own method without any direction. This can lead to poor cupping techniques and issues with repetitive strain injury. The aim is to find ways to change clusters consistently and reliably without unnecessary physical strain and avoid the problems of muscle/tendon overuse.
Two cupping techniques are explained here and switching between methods during milking is recommended to relieve muscle strain. Each method works on rotaries or herringbones, although there are some refinements depending on the dairy type.
This method is (or should be) taught to all new milkers as a simple, easy-to-learn, reasonably quick method that avoids problems. It is not the fastest method but it is reliable and easier on the milker because there is much less chance of getting kicked.
Video 2:19 min
Use the right hand to put the cups on the right hand side row of cows (facing the exit) because it is easier to reach through the back legs.
On the left hand side of the platform, use the left hand to put on the cups.
This creates a change in muscle usage depending on whether the clusters are being placed on the right or left side of the herringbone.
The Round-the-Circle method depends on which way the platform is rotating. For clockwise rotation:
If the rotation is anti-clockwise reverse this process.
For a rest try putting on the two front cups more or less at once, then the back right, then the back left with the other hand.
Video 1:47 min
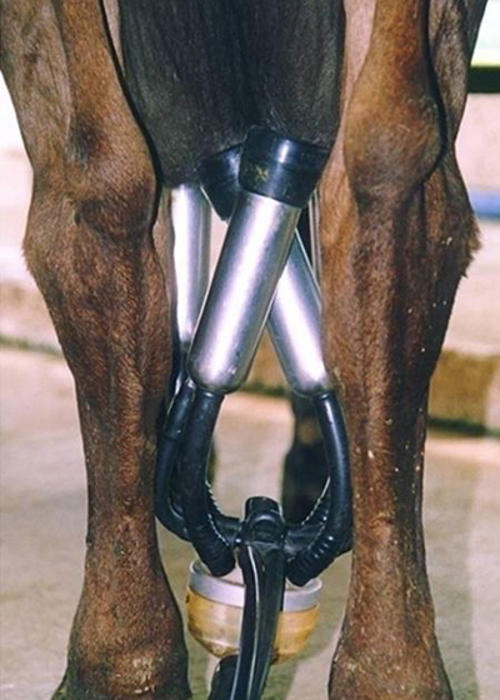
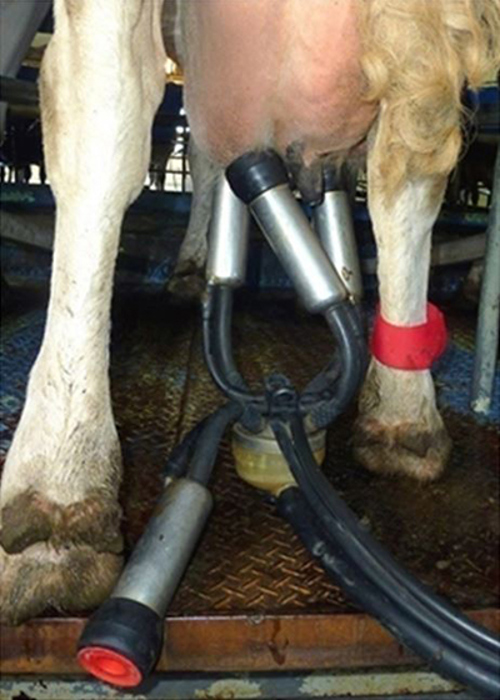
Once the clusters are attached, check the cluster alignment with the udder. The clusters should sit squarely under the udder. In herringbones where the clusters are attached from between the back legs, the long milk tube and pulse rubber should be in line with the cow’s backbone. Many new dairies, both rotary and herringbone, come with cluster alignment components.
Crossing cups to get better alignment.
Rather than twisting the short milk tube, use a cup plug and leave the unused cup hanging – this reduces pressure on the claw.
Use the cup intended for the ‘unmilked’ teat on the opposite teat e.g. if the back left teat is not milked, put the back left cup on the back right teat.
Using a cup plug when milking a cow with three teats.
All milkers should know how to remove clusters correctly - clusters which are left on too long result in over-milking, liner creep and teat end damage.
Milking machine function must be maintained to ensure cluster removal is easy for the milker, and causes no cow discomfort or teat damage.
The benefits of correct cup removal include:
Video 1:29 min
Automatic cluster removers (ACR) can boost productivity per milker in both rotary and herringbone dairies. Working conditions are also improved by reducing cluster handling requirements.
A large percentage of New Zealand’s dairy cows are regularly over-milked resulting in reduced milking speed, poor udder health, and cow discomfort. ACR are designed to remove a cluster from individual cows at a pre-determined end point of milking and can provide a solution to these issues.
It is important to take care when removing clusters to avoid rapid inrushes of air that have been shown to increase the risk of mastitis infection.
The first step is to break the vacuum.

Break vacuum by closing the clamp or kinking the long milk tube close to the cluster.
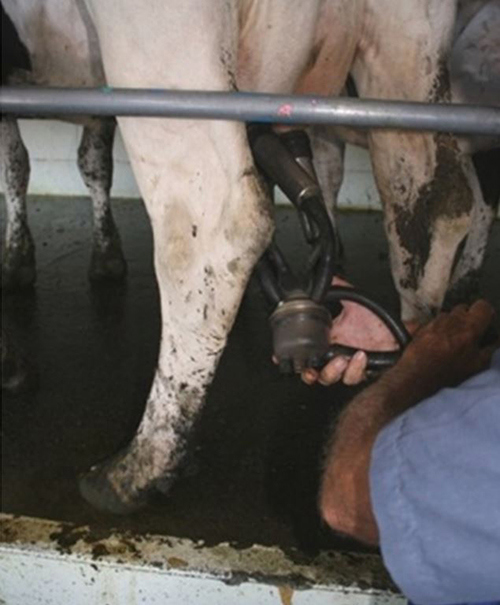
Rotate the cluster 30-60º as you remove it.
As over-milking is a more common problem than incomplete milking it is better to remove the cluster too early rather than too late.
In New Zealand herds, over-milking can be excessive in the range of 2-5 min per cow for many herds, in both herringbone and rotary dairies. It is particularly common in late lactation or dairies that have too many clusters for the number of people milking.
Extensive international research indicates that cows giving 10L per milking (not per day) can be milked in 5 min, while cows giving 15L per milking can be milked in about 6 min. This may be about a minute longer in New Zealand where cows commonly have less preparation e.g. teat washing, before milking.
Even so, considering typical rotation times are 12 minutes for many rotary platforms (with some cows going around twice), many cows are being severely over-milked. This can be caused by clusters being attached too early or left on too late.
Now’s the perfect time to check in, plan, and set up for a strong season. We’ve pulled together smart tips and tools to help you stay ahead all winter long.
Whether you prefer to read, listen, or download handy guides, we’ve got you covered with trusted tools to support your journey every step of the way.


