Teat preparation and spraying
Topics
5 min read
Learn about teat preparation and spraying basics and how washing keeps milk quality high, prevents damage, and reduces mastitis. Discover handy tips like strategic washing, proper drying, and avoiding bulk washing. We'll also explore ways to prevent dirty teats through track maintenance and udder protection and uncover the benefits of teat spraying: controlling mastitis, improving milk quality, and keeping our cows comfortable. We provide mixing guidelines and system recommendations and touch on other important topics like contagious mastitis, efficient tracks, milk let-down, and cluster removal.
Teat preparation before milking can involve the cleaning and/or massaging of teats before the cups are attached.
As well as ensuring that milk quality is not affected by dirty teats, washing helps the cow produce oxytocin, the milk let-down hormone which creates a better milk flow.
Teat washing and ensuring the teats are clean before attaching the cups has the following benefits:
In New Zealand there are two teat washing practices:
Strategic washing is most commonly practiced in New Zealand. Strategic washing of dirty teats will save time, although there is no opportunity to stimulate the udder through handling/massage to encourage let-down. However, in most cases this is not required.
Drying of teats after washing is essential as it reduces the chance of mastitis, and the risk of milk contamination. Dry teats also interact better with the teat cup liner.
Bulk washing is washing cows and teats with the pressurized wash-down hose on entry to the bails or in the collecting yard. Bulk washing of udders is not an acceptable practice as it can compromise milk quality by washing bacteria off the flanks and udder into the cups.

Preventing teats getting dirty to start with will decrease the time spent washing and drying teats in the dairy. Look out for the following:
Teat spraying is critical for maintaining teat skin health and controlling mastitis during lactation.
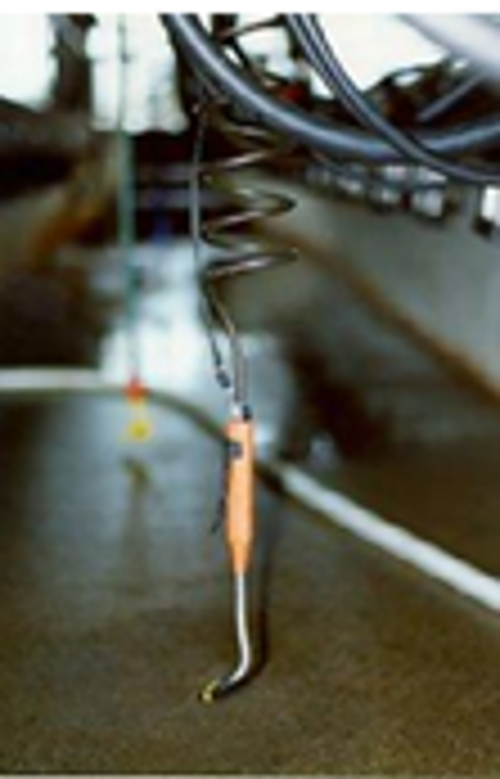
In New Zealand, teat sanitising usually refers to teat spraying or dipping, carried out immediately after cups have been removed. This can be a manual or automated process.
Teat spraying looks simple and this probably explains why so many people get it wrong. The effectiveness of teat spraying or dipping relies on complete coverage of the teat. This task takes time and is poorly done on many New Zealand farms.
Teat sanitising products must be approved to ensure they won’t result in undesirable milk residues. A list of approved chemicals is available on the New Zealand Food Safety website or you can contact a Milk Quality Representative from your dairy company.
Teat spray all teats of all cows immediately after every milking, and throughout the whole lactation period. Cover the whole teat of every cow to maximise effectiveness.
Teat spraying before cup attachment increases the risk of milk contamination and there are strict criteria associated with this practice. If you wish to do it contact a Milk Quality Representative from your dairy company and ensure you are carrying out the correct technique.
Video 1:35 min
Benefits of teat spraying
Teat sanitisation system types
Teat spray units come in manual and automated forms.
Which system is best?
See below table outlining the advantages and disadvantages of each teat sanitisation system.
| Teat Spray System | Description | Advantages | Disadvantages |
|
Hand pump
|
|
|
|
|
Pressurised sprayer
|
|
|
|
|
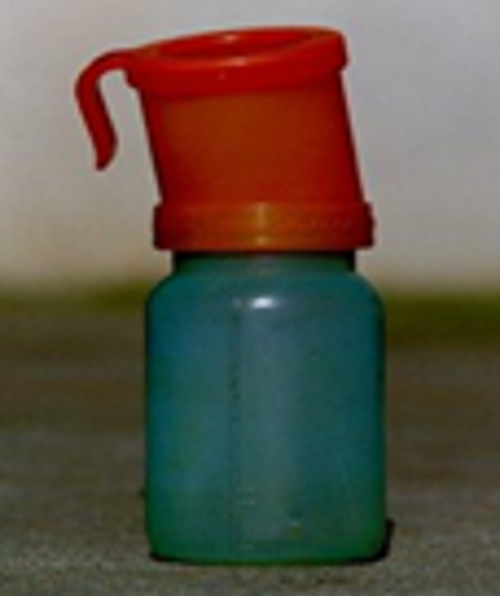
Teat dip
|
|
|
|
|
Automatic sprayer
|
|
|
|
Tips: getting the best from your system
Now’s the perfect time to check in, plan, and set up for a strong season. We’ve pulled together smart tips and tools to help you stay ahead all winter long.
Whether you prefer to read, listen, or download handy guides, we’ve got you covered with trusted tools to support your journey every step of the way.